Thursday, June 30, 2016

Installation of the Pitless Adaptor

It was a dark and stormy night, but when we got up to the property, not a movement on the rain gauge. The vineyard was very moist, however, it seemed that no appreciable rain had fallen. It is not lost on us that it has been almost a month since we had our last rainfall which brought about 1-inch of rain. We do have a backup plan, which is our plan A.
But, we have been waiting for the well crew to show up to put in the well pump. Today (really yesterday, June 29th), they came with the pitless adapter. I learned that there are many steps in making a well that has the potential to deliver 40 gallons a minute, functional. Today the crew installed the brass pitless adaptor. My husband kindly explained to me what a pitless adapter is. I find it to be very ingenious. But, first, you need to attach the pitless adapter to the sidewall of the existing iron pipe by cutting a hole with an acetylene torch. Then the parts that attach to the inside of the well pipe and the outside of the well pipe must be maneuvered in place. (Please see the annotated illustration provided above.)
What Tony is doing is using a pipe with a 90-degree fitting on which the "female" part of the pitless adapter has been placed and guiding it into the iron pipe and putting it into the hole that was cut. His co-worker is ready on the other side of the iron pipe to secure it with the gasket, back plate and the lock nut. One slip and down goes the part into the 600-foot well, but all's well that ends well. We now have a pitless adapter into which the drop pipe will be placed.

Monday, June 27, 2016

Flowering in the Vineyard

The first signs of flowering occurred in our Chardonnay and the photo on the right was taken on June 16. This is very similar to what happened last year on June 17th, when I blogged about The Sight of One Flower Blooming. It would appear that our Chardonnay is the first to bloom, followed by our Chenin blanc and then the Auxerrois.
Fast forward to Saturday, June 25, when we had our "thank you BBQ" for the people who came to help us plant our 4200 new vines. When we took our friends into the vineyard to see the results of their labor, we saw many tiny grapes the result of successful self pollination.
Indeed, conditions were ideal between June 17th and June 25th with no rain at all and moderate temperatures not exceeding 80 degrees Fahrenheit. While these conditions are ideal for fruit set, it is not so ideal for our newly planted vines. We have not had any significant rainfall since Monday, May 30th when we had a total of 1-inch of rainfall between early Sunday morning and Monday, Memorial Day. In one of our lessons learned (90% at the School of Hard Knocks), we know that newly planted vines need water, so while we wait (and wait) for our well pump installation to occur, we have been hand watering our new vines.

Thursday, June 23, 2016

The Secret Life of Ladybugs

We have been shoot positioning (among other tasks) in the vineyard, which takes us up close and personal with all of our vines. I have blogged about The Life Cycle of the Ladybug in a previous post in which I show this:
And now I can fill in one important step that takes place between the mature ladybug and the eggs. It is a very short video and the important part is in the first 1-3 seconds. Please be warned that to some, this is may be classified as an R-rated short clip.
This is good news for us because ladybugs are beneficial insects. Ladybugs are predators with ravenous appetites for aphids and other soft-bodied insects. Adult ladybugs will eat several hundred aphids before mating and laying eggs on the infested plants. Ladybug larvae feed on aphids as well.1
It is not clear from this video that these are truly ladybugs belonging to the family Coccinellidae or the invasive ladybug also belonging to the family Coccinellidae, but is in the genus Harmonia. The Harmonia axyridis also known as the Asian ladybug can be distinguished from the true ladybug because of the "M" marking that can been seen on its pronotum as shown in the beetle on the right.2 I learned a lot about the Asian ladybug on Frank Fielder's Wonderful World of Insects website.
One last word. A few weeks ago, we saw what I assumed was a ladybug and sent the photo to our ace identifier, Pamela Cooper from the University of Connecticut Extension Center and she thought it was a member of Harmonia axyridis. I can see where the pronotum might have an "M" but looks more like an "H" to me. I thought it had an amazing color and reminded me somewhat of an anchor bug which I wrote about in a previous post Anchor Bug: Natural Vineyard Pest Management Agent.
So much for a little light digression from the heaviness of understanding the development of inflorescence primordia, but that will be coming shortly!
References:
1. Debbie Hadley, Ladybugs - Family Coccinellidae.
2. Frank Fielder's Wonderful World of Insects.
3. National Geographic Lady Bug Coccinellidae

Tuesday, June 21, 2016

Grapevine Inflorescence Formation---Parts 1 and 2

Trying to talk about the formation of inflorescence is a little like the question, "Which came first, the shoot or the bud?" This topic is fraught with the unknown and the unknowable. A little illustration can help clarify this question and breaking up the cycle into 4 parts can also be helpful in the discussion.1
In this blog, I'm going to limit myself to what is going on in (1) and (2) of the cycle. If we begin at the top of this illustration (1) in spring of this year, bud break results in the growth of the shoot. Something that I learned recently when I read Markus Keller's book2 is that this shoot growth can be divided into two phases. The first is the fixed growth which results in the formation of the first 6 to 10 nodes and the second phase is the free growth which is the subsequent growth of the shoot. (This will become important later.)
As the shoot is growing, the dormant or winter bud is being formed directly above the leaf petiole and the shoot. The prompt or lateral bud can also grow in the leaf axil and result in the growth of the summer lateral shoot.3
(2) The dormant bud is formed in the spring from their own shoot apical meristem. In the following illustration, the shoot apical meristem is labeled A.2
The apical meristem of the primary bud generates two types of lateral meristems (labeled L in the illustration above): (1) is responsible for leaf production and (2) the other is responsible for inflorescence and tendril production.
Got all that? So, a lot is happening right now at the nodes of the growing shoots. More information to come in future blogs.
Reference:
1. For the illustration the grape inflorescence growth cycle was taken from:
Wine Science - Third Edition, Ronald Jackson
The grape bud was taken from:
YouTube: The Grapevine Bud
The was taken from:
Jennifer Hashim-Maguire, Managing the vegetative canopy and its effects on bud fruitfulness and fruit quality.
2. Markus Keller, The Science of Grapevines Anatomy and Physiology, 2010, Academic Press.
3. Charlotte Pratt, Vegetative anatomy in cultivated grapes, A review, American Journal of Enology and Viticulture, 1974, 25:131-150.
4. Devin Carroll, What Causes a Bud to Produce a Bunch or Not, Practical Winery and Vineyard, November/December 2009.
5. Markus Keller, Chapter 1
6. Larry Williams, Bud Development and Fruitfulness of Grapevines.

Friday, June 17, 2016

Grapevine Inflorescence

My friend came up to the land when we were not there and told us how surprised she was to see so many tiny grapes on our vines. Indeed, these little flowers, <digression> my husband always corrects me when I say "flower" because he would like me to call these grape flowers "inflorescence", he is correct, of course, <end digression>, the technical term for a grape flower is called an inflorescence, because we often speak of the first signs of grapevine awakening as "budbreak". When looking at the grape inflorescence, it is not difficult to imagine that these can indeed be mistaken for the beginning of a grape cluster.
Interestingly, these grape inflorescence that we are now seeing were actually formed in the spring and summer of last year.
In trying to understand this process of inflorescence formation in the spring and summer of last year, I stumbled upon some very informative references that I provide below. In the upcoming blogs, I'll attempt to summarize what I think I know.
References:
1. Markus Keller, Washington State University, The Physiology of Bloom and Impact of the Environment, 2011.
2. J. E. JONES, R. C. MENARY, and S. J. WILSON, Continued development of V. vinifera inflorescence primordia in winter dormant buds, Vitis 48 (3), 103–105 (2009).
3. Devin Carroll, What Causes a Bud to Produce a Bunch or Not, Practical Winery and Vineyard, November/December 2009.
4. Markus Keller, Chapter 1
5. Larry Williams, Bud Development and Fruitfulness of Grapevines.
6. Jennifer Hashim-Maguire, Managing the vegetative canopy and its effects on bud fruitfulness and fruit quality.

Wednesday, June 15, 2016

2015 Olga Chinon Rosé

Summer is almost here so it is time for drinking a refreshing Rosé. Last evening, we shared this 2015 Olga Chinon Rosé with our friends who brought over the starting material for the Salmon en Papillote and mushroom and garlic scape stir fry, so basically they brought the ingredients and my husband made the meal. The salmon was simply prepared with lemon, basil, olive oil and butter so the dry 2015 Olga Rosé was the perfect foil for the meal.

Sunday, June 12, 2016

Baltimore Orioles

We have just one more row of newly planted Chenin blanc to tether to the fruiting wire, so this morning, we went to the land in search of the Baltimore Oriole that we see when we reach the north end of our vineyard and sit on our picnic bench for a short respite. We thought we saw the nest of the oriole, so this morning, we took our camera and put it on a tripod so that we could get some photos. It was a breezy morning, so we tried to get the best shot possible. We waited and in a while, we saw both the female and the male orioles:
Seeing such wonderful sites as this mating pair of Baltimore Orioles is the icing on the cake that makes working in the vineyard a continual joy.

Thursday, June 9, 2016

Soldier Patrol in the Vineyard

The wonderful thing about working in the vineyard is that there are so many interesting sites. On a few of our plants, we would see the dead and shriveled remains of gypsy moth caterpillars and we were in the dark about how that happened until we saw this spined soldier beetle caught in the act of piercing a gypsy moth caterpillar. In writing this blog, I consulted the Internet and found this article in Wikipedia that says that the spined soldier beetles are predators of the gypsy moth caterpillars. We stopped our work to take a few pictures of the spined soldier beetle in action:
Our local paper did have an article recently about the large numbers of gypsy moth caterpillars that have been seen in towns in our area. We have seen a few of the moths but not enough to be bothersome. We feel fortunate that we have our cadre of spined soldier beetles patrolling our vineyard.
Please check out this earlier blogpost Star Washers in the Vineyard: The Spined Soldier Beetle to see what the eggs and the first instar of the spined soldier beetles look like.

Wednesday, June 8, 2016

2014 Domaine Guiberteau Les Moulins

We had this 2014 Domaine Guiberteau Les Moulins last night when my husband made Striped Bass en Papillote with tarragon, butter and olive oil and invited our friend for dinner. He tossed it in the oven while the three of us had some starters.
This Chenin blanc is made by Romain Guiberteau according to Flickinger Wines. Guiberteau is an 8 generation winemaker and this 2014 Les Moulins is the first vintage made by him from that vineyard in Samur. This wine had acidity in spades and was the perfect compliment to the striped bass.
Since we are growing Chenin blanc and made our first wine (extremely limited edition), we are partial to all wine Chenin and think that it is the perfect compliment with seafood, especially raw oysters.

Monday, June 6, 2016

Vineyard Nests

You know when you have left your vines to grow too much before commencing on vineyard disbudding (in our case, pruning) duties when you come across the following nests. Two paper wasp nests, showing one of the two found:
And two bird nests. Here is the first one:
Here is the second one, made by a more architecturally fastidious bird:

Saturday, June 4, 2016

Vineyard Pruning Full Disclosure

A few days ago, my husband and I were pruning, yes, we were pruning our vines. In the spirit of full disclosure, this is what we did. We did our pruning and laying down canes in March and left a good 6 inches or so on our dormant canes as insurance against a frost.
This practice relies on the fact that the apical buds will bloom first and if there is a killing frost, then the apical growth can be cut off and the remaining buds on the cane will use the energy to grow. There were times during the spring where we had some very warm weather (March 9 and 10). In April, I blogged about the yoyo-ing temperatures that we were seeing this spring, so all in all, it seemed like a good idea to have left our canes on the long side. Our dormant buds were beginning budbreak during the last week in April and had begun to unfurl during the first week in May, which we have seen is quite typical for our property. Although we had a mild winter, May was on the cool side and the buds for a while seemed to be in a state of suspended animation at the budbreak stage, where they appeared not to grow at all.
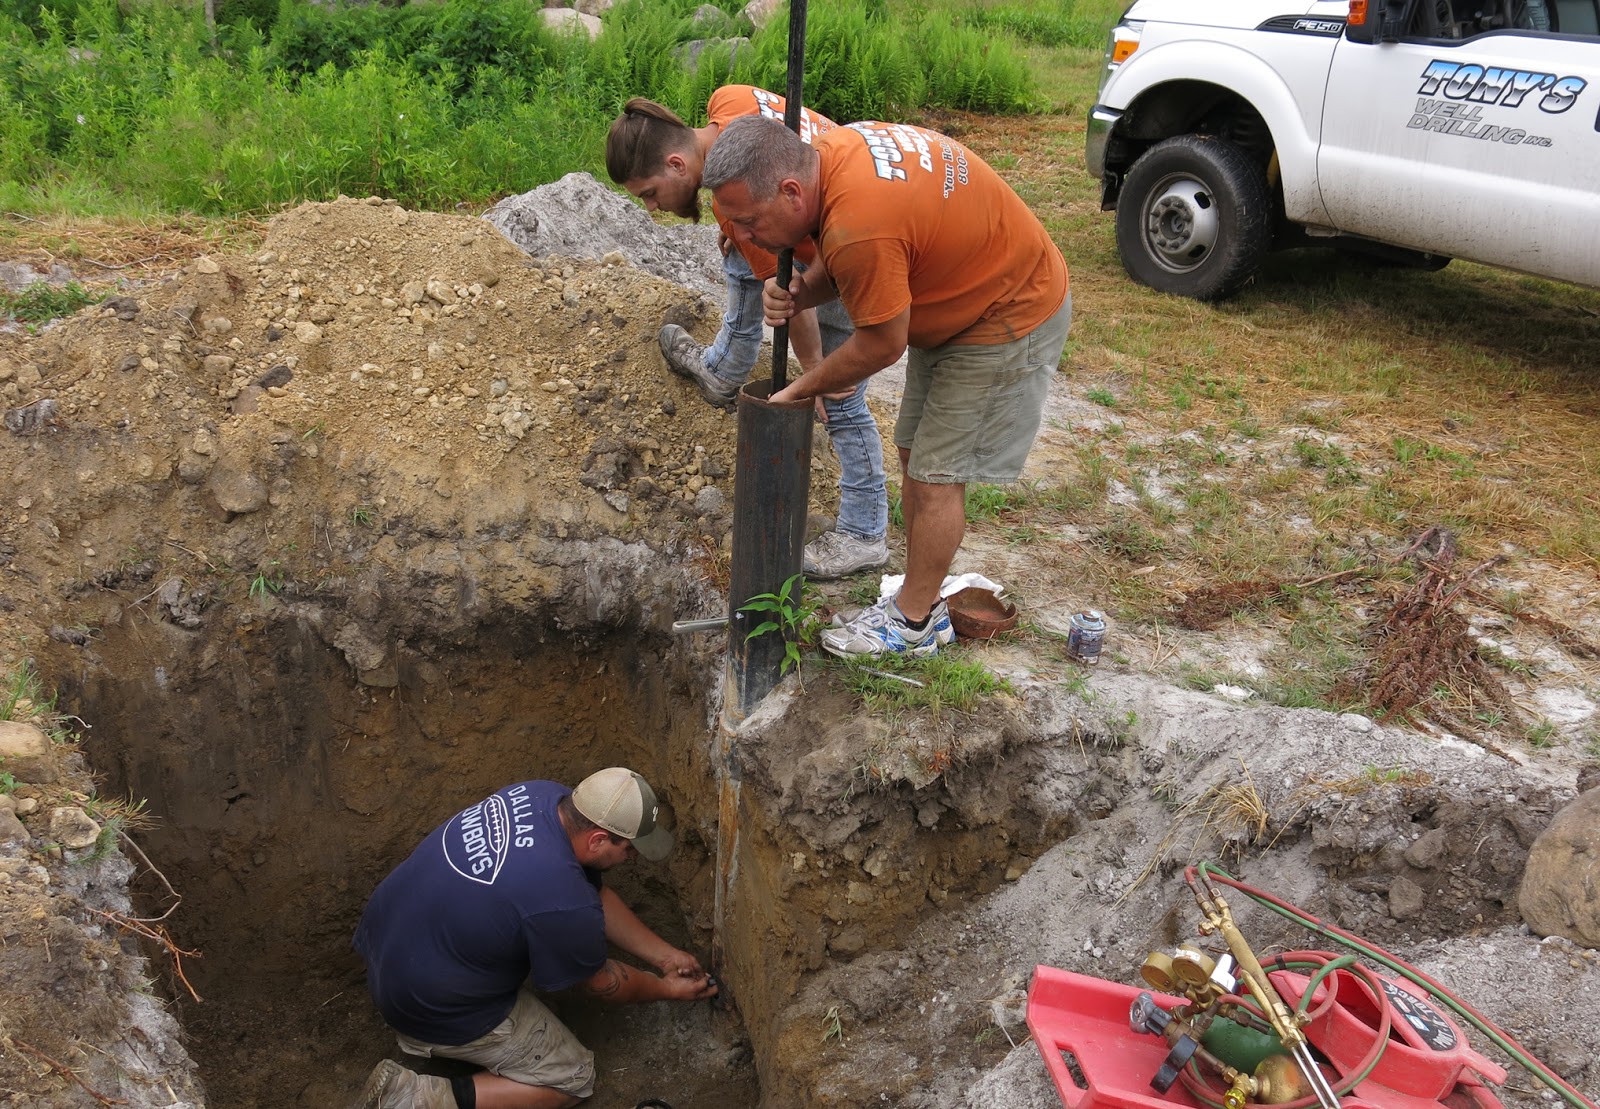
Then in the crush of work that followed, drilling holes, mowing, planting, we let our vines grow to an unwieldy state.
The majority of the growth of the vine were at the apical ends where there were many beautiful inflorescence (grape flowers). But, for the health of the vine, we had to cut them off! This was very hard to do, but I think we made the right decision because we don't want to overcrop our vines.

Thursday, June 2, 2016

Vine Chiropractice

Some of our tall grafted vines came with very crooked trunks. Our vineyard crew did their best to plant these crooked plants as close to the pencil rods, which provided the guide for where the vines should be planted. After the planting, my husband and I looked at each planted vine, moving some closer to the pencil rods and then tying these crooked plants to the pencil rods in the hope that through time, these trunks will grow a little straighter.